DIY Computer Case - Acrylic and LASER!!
I picked up some server hardware for cheap, but the motherboard form factor is proprietary, and the case it came in sounds like a jet engine. So I made my own.
Rumour had it that one of the big Internet companies decommissioned and sold a bunch of their dual-socket servers at the end of 2015, and sent the second hand prices of some really nice Xeons plummeting to 10-20% the prices they were going for before. I didn’t hear about this until a few months ago, but decided to jump on the bandwagon.
Why?
This.
matthew@bigfoot:~$ grep “model name” /proc/cpuinfo
model name : Intel(R) Xeon(R) CPU E5-2670 0 @ 2.60GHz
model name : Intel(R) Xeon(R) CPU E5-2670 0 @ 2.60GHz
model name : Intel(R) Xeon(R) CPU E5-2670 0 @ 2.60GHz
model name : Intel(R) Xeon(R) CPU E5-2670 0 @ 2.60GHz
model name : Intel(R) Xeon(R) CPU E5-2670 0 @ 2.60GHz
model name : Intel(R) Xeon(R) CPU E5-2670 0 @ 2.60GHz
model name : Intel(R) Xeon(R) CPU E5-2670 0 @ 2.60GHz
model name : Intel(R) Xeon(R) CPU E5-2670 0 @ 2.60GHz
model name : Intel(R) Xeon(R) CPU E5-2670 0 @ 2.60GHz
model name : Intel(R) Xeon(R) CPU E5-2670 0 @ 2.60GHz
model name : Intel(R) Xeon(R) CPU E5-2670 0 @ 2.60GHz
model name : Intel(R) Xeon(R) CPU E5-2670 0 @ 2.60GHz
model name : Intel(R) Xeon(R) CPU E5-2670 0 @ 2.60GHz
model name : Intel(R) Xeon(R) CPU E5-2670 0 @ 2.60GHz
model name : Intel(R) Xeon(R) CPU E5-2670 0 @ 2.60GHz
model name : Intel(R) Xeon(R) CPU E5-2670 0 @ 2.60GHz
model name : Intel(R) Xeon(R) CPU E5-2670 0 @ 2.60GHz
model name : Intel(R) Xeon(R) CPU E5-2670 0 @ 2.60GHz
model name : Intel(R) Xeon(R) CPU E5-2670 0 @ 2.60GHz
model name : Intel(R) Xeon(R) CPU E5-2670 0 @ 2.60GHz
model name : Intel(R) Xeon(R) CPU E5-2670 0 @ 2.60GHz
model name : Intel(R) Xeon(R) CPU E5-2670 0 @ 2.60GHz
model name : Intel(R) Xeon(R) CPU E5-2670 0 @ 2.60GHz
model name : Intel(R) Xeon(R) CPU E5-2670 0 @ 2.60GHz
model name : Intel(R) Xeon(R) CPU E5-2670 0 @ 2.60GHz
model name : Intel(R) Xeon(R) CPU E5-2670 0 @ 2.60GHz
model name : Intel(R) Xeon(R) CPU E5-2670 0 @ 2.60GHz
model name : Intel(R) Xeon(R) CPU E5-2670 0 @ 2.60GHz
model name : Intel(R) Xeon(R) CPU E5-2670 0 @ 2.60GHz
model name : Intel(R) Xeon(R) CPU E5-2670 0 @ 2.60GHz
model name : Intel(R) Xeon(R) CPU E5-2670 0 @ 2.60GHz
model name : Intel(R) Xeon(R) CPU E5-2670 0 @ 2.60GHz
Sorry. I know it’s hard to count that many lines… Let me try again:
matthew@bigfoot:~$ grep “model name” /proc/cpuinfo|wc -l
32
2 CPUs, 8 cores each, 2 threads per core = 32 threads.
Why do I need so many cores…. eh? when has that ever stopped me :). “make -j 32” is nice. I also have a thing for reliable computers, after having suffered way too many DRAM failures. Having ECC is nice, and Intel has stopped supporting ECC on their consumer products, so that’s another plus for switching to Xeons. High core count chips aren’t ideal for gaming, but I have a dedicated gaming machine anyways, so I wasn’t worried about that. On the other hand, for multi-threaded workloads (in my case that’s mostly code I write), high core count Xeons can deliver very impressive performance with modest power consumption. Low frequency cores are more efficient than high frequency cores in terms of perf/Watt, and that’s why server Xeons typically have many low frequency cores.
There’s one problem though – the CPUs may be cheap, but dual socket motherboards weren’t. Dual socket motherboards come in both workstation and server varieties, and server ones were cheap since they were also dumped into the market with the CPUs, but workstation motherboards were still in the $300+, which is roughly how much I wanted to spend for the whole setup!
So I got a 1U server with 2x E5-2670s. For those unfamiliar with rack-mounted equipment – almost everything in datacentres is mounted on industry-standard racks with standard width and depth. The only thing variable is height. A piece of equipment can take up 1 rack unit (1U, 44.5mm), 2 rack units (2U, 89mm), etc, up to about 10U.
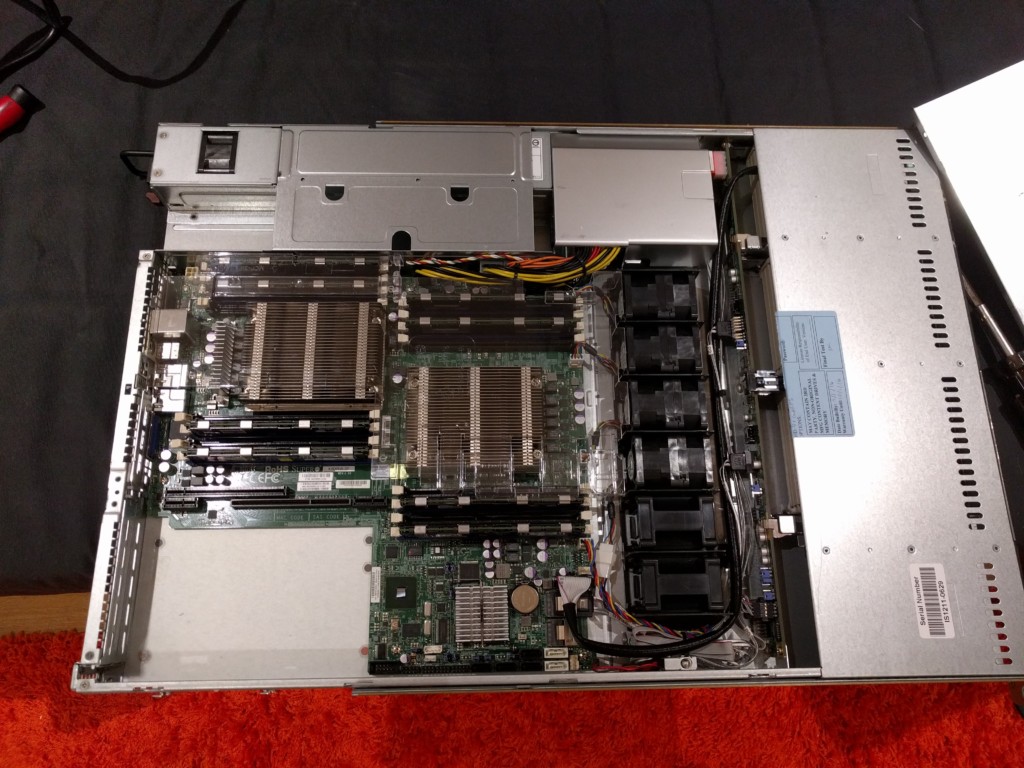
This is what the 1U server I got looked like:
The CPUs are under the big silver heatsinks, and the 6 black rectangular blocks on the right are 4 fans and 2 placeholders for additional fans. These are very deep and very high speed (12k RPM) 40mm fans… If you have built your own computers, you probably know where this is going.
This thing is LOUD. I knew it would be loud, but I wasn’t quite ready for exactly how loud it is. It sounded like a fighter jet at takeoff power. I’m not usually picky about computer noise, but I’m not keeping THAT in my living room!
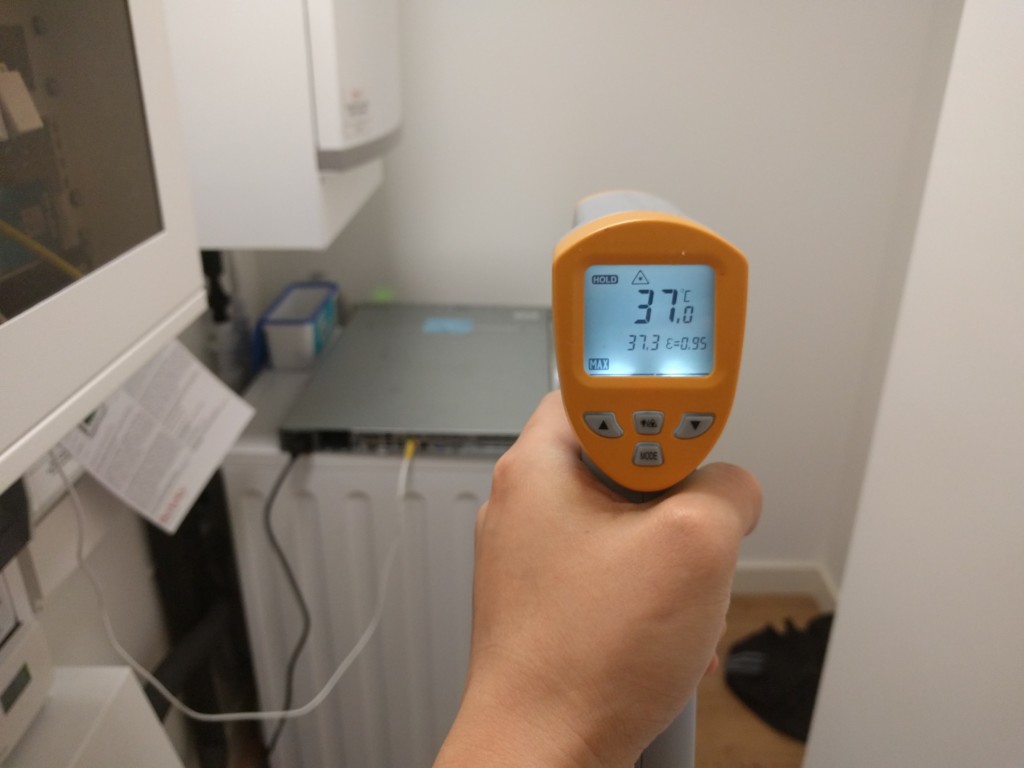
So I put it in my laundry room, and closed the door. Behind a closed door it sounded like a fighter jet on cruise power. That’s not ideal, but I have high noise tolerance, and thought I could probably leave it there for a bit at least until I figure out what to do with it… And I started running stress tests overnight. In the morning, the door to the laundry room felt suspiciously warm…
Yeah, it heated the whole ROOM up to 37C (from about 25C), and after a few more hours, the motherboard started beeping because the CPUs were overheating (I didn’t even have a GPU at this point). So that plan was scrapped, and I had to shut it down until I could design a quieter cooling system for it.
First Attempt – Bigger Fans!
My first attempt was to replace the 40mm fans with much bigger ones. Bigger fans move the same amount of air at lower speeds, and therefore produce much less noise. Since I no longer needed the chassis to fit in 1U space, I thought it would be a good idea to add fans to the top of the chassis, blowing down at the CPU heatsinks (and also other components).
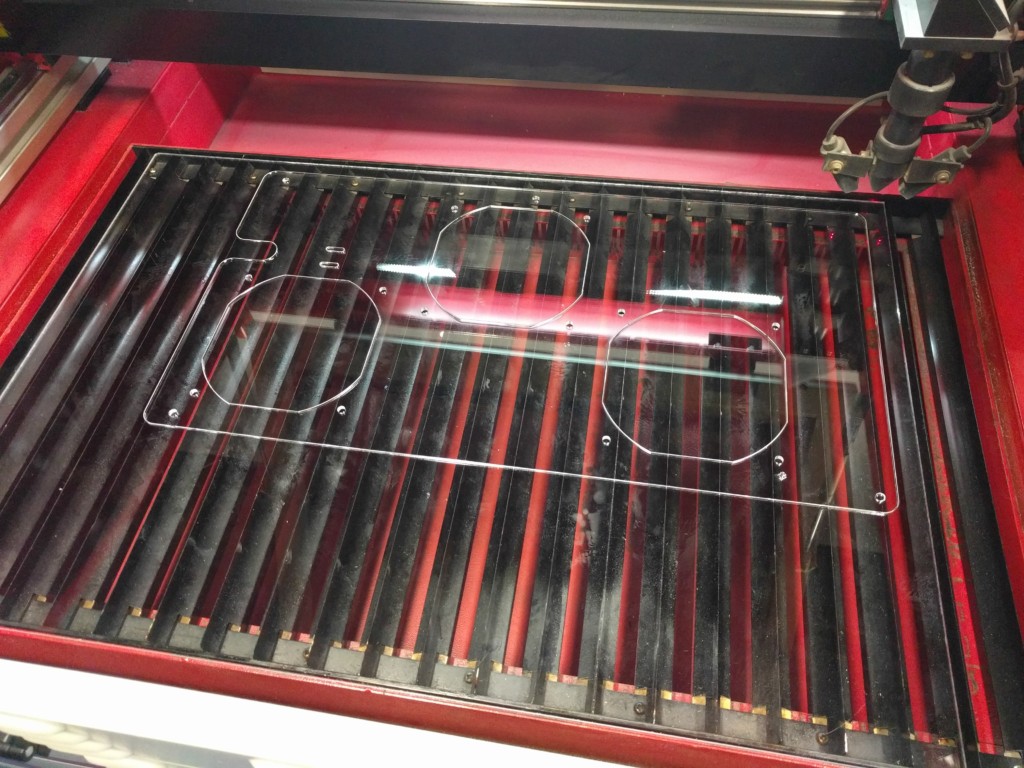
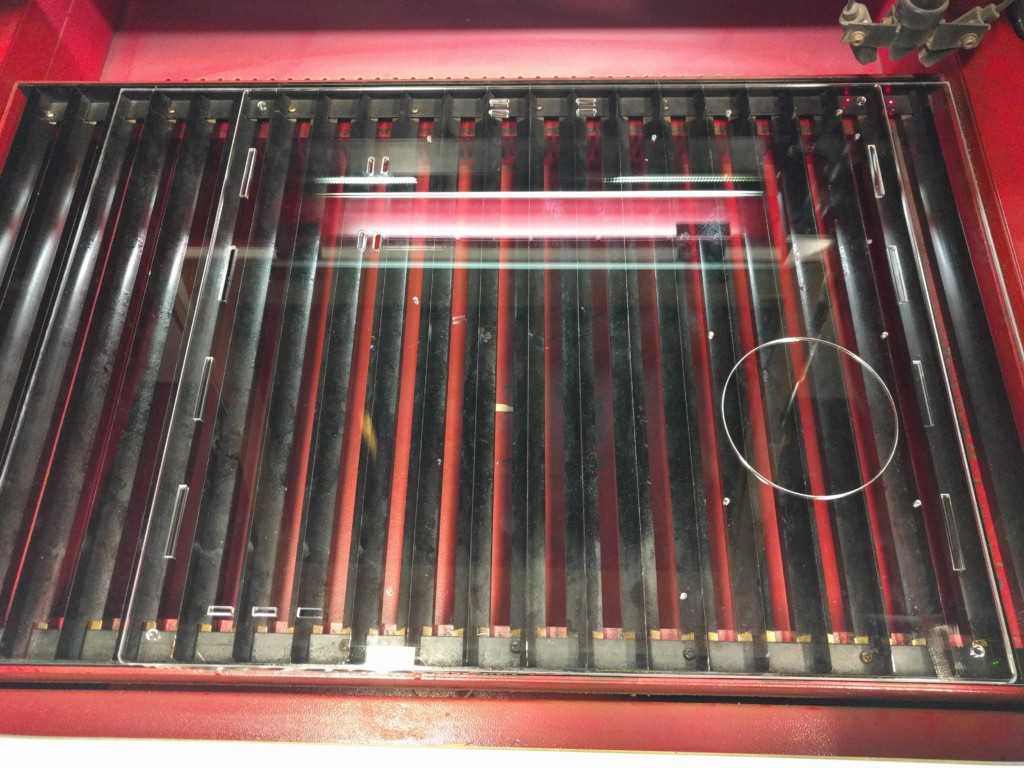
With our trusty laser cutter…
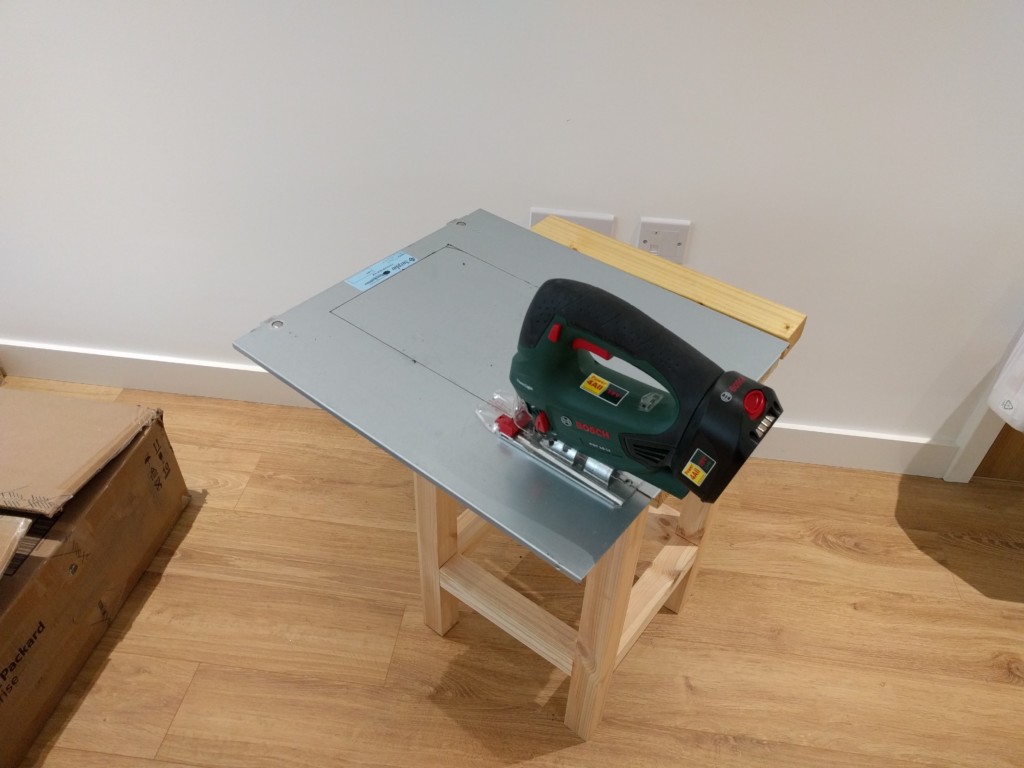
I used a jigsaw with metal-cutting blade to cut through the steel chassis…
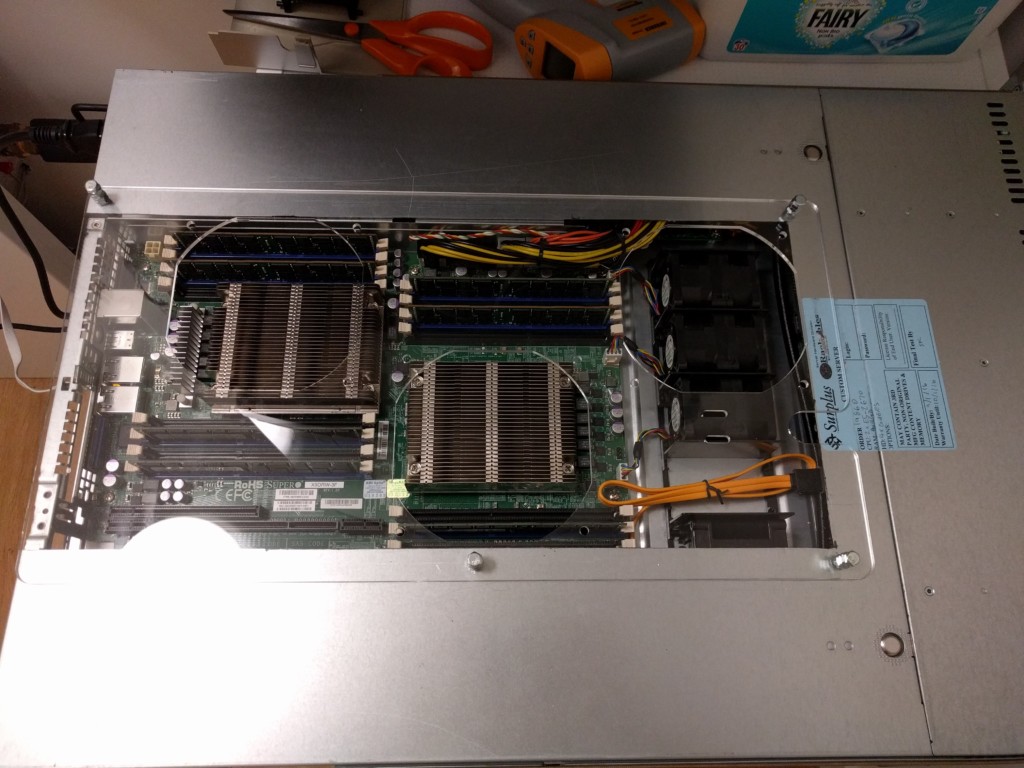
and installed the acrylic panel on top…
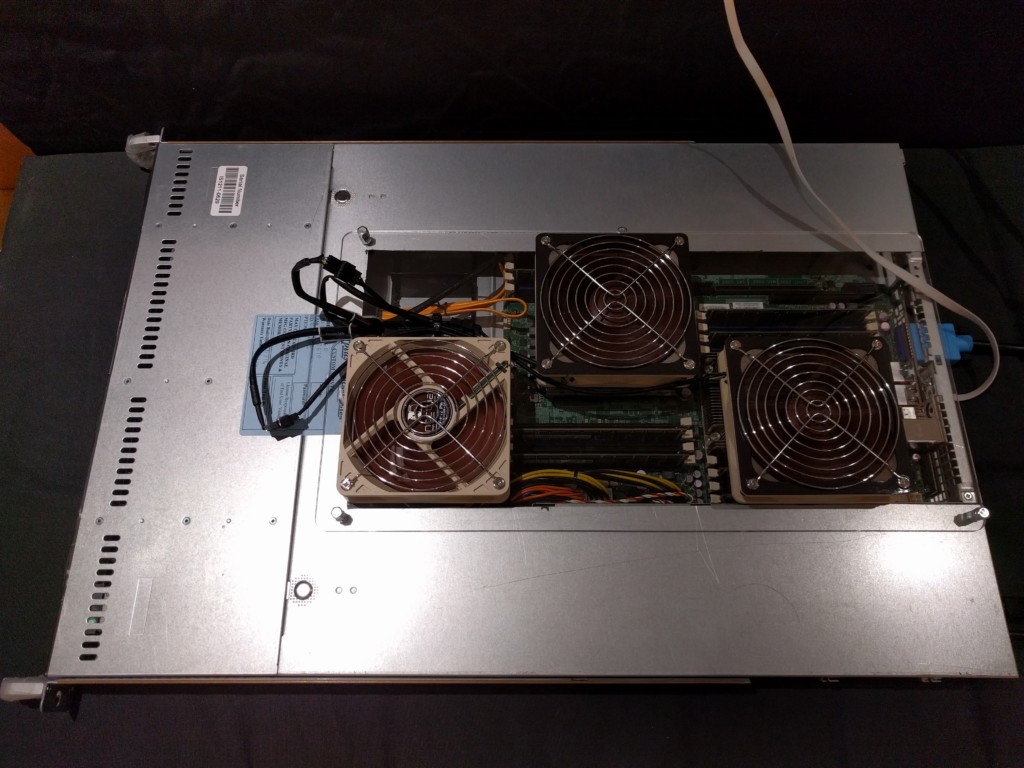
With 3 high airflow 120mm fans.
2 intake (with filters), and 1 exhaust.
It worked for a little while, but the CPUs still overheated at high load :(. I guess with a case that small airflow is too turbulent with this kind of setup. The only way the CPUs can be cooled with those tiny heatsinks is if there’s a very strong and streamlined airflow across it (like in the original jet engine setup).
So… new heatsinks! And why not build a whole new case while we are at it, if we need to have huge tower heatsinks sticking out? Steel panels aren’t exactly easy to work with.
At this point I also realized that I had to get a new power supply. The server came with amazing dual redundant (with automatic fallback) power supplies… that also had the jet engine fans inside :(. I also learned that cheap power supplies with dual EPS (8-pin CPU power) plugs are very very rare. I ended up with an EVGA 650 GQ, which unfortunately wasn’t cheap. I guess people who build dual-CPU machines don’t buy cheap power supplies to power them. Who would have thought?
Second Attempt – New Case!
I couldn’t just get a new case off the shelf because the motherboard is in Supermicro’s proprietary WIO form factor, that no one supports, and requires mounting PCI-E cards horizontally, from a proprietary riser card. So I had to design my own.
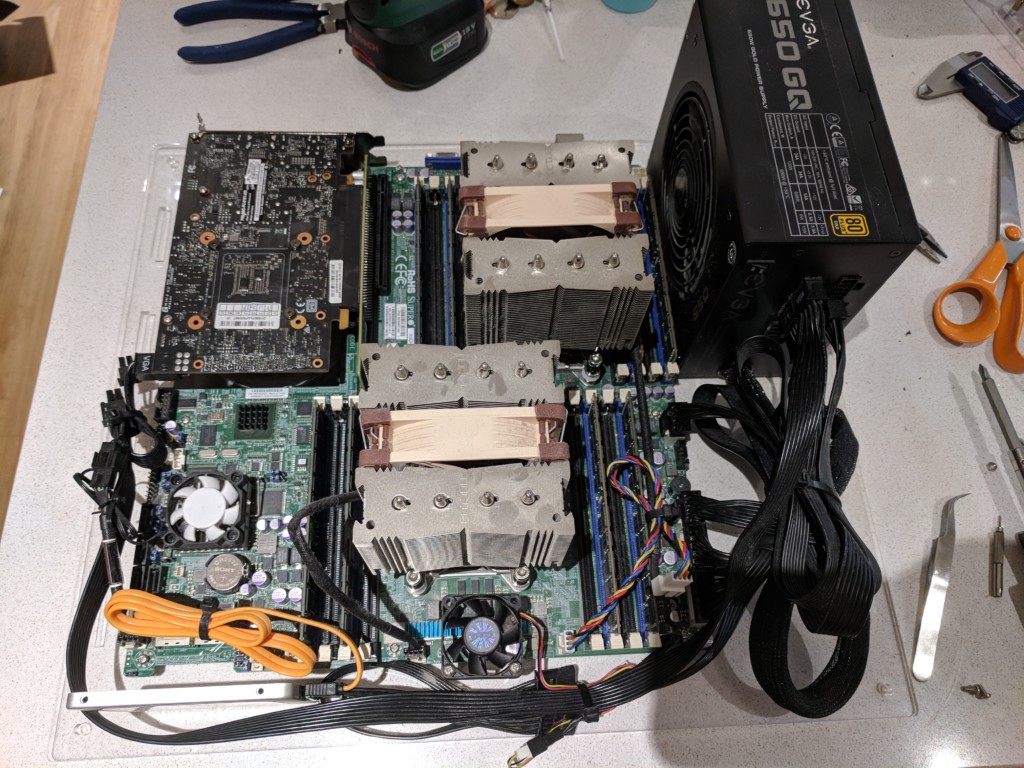
Some of the mounting holes are the same as in EATX, so I used that as a guide and double checked by measuring the actual board I have. In the end, figuring out all these holes positions took me about two hours, and I still got a few wrong! Luckily I got enough right that they will still hold the board for me.
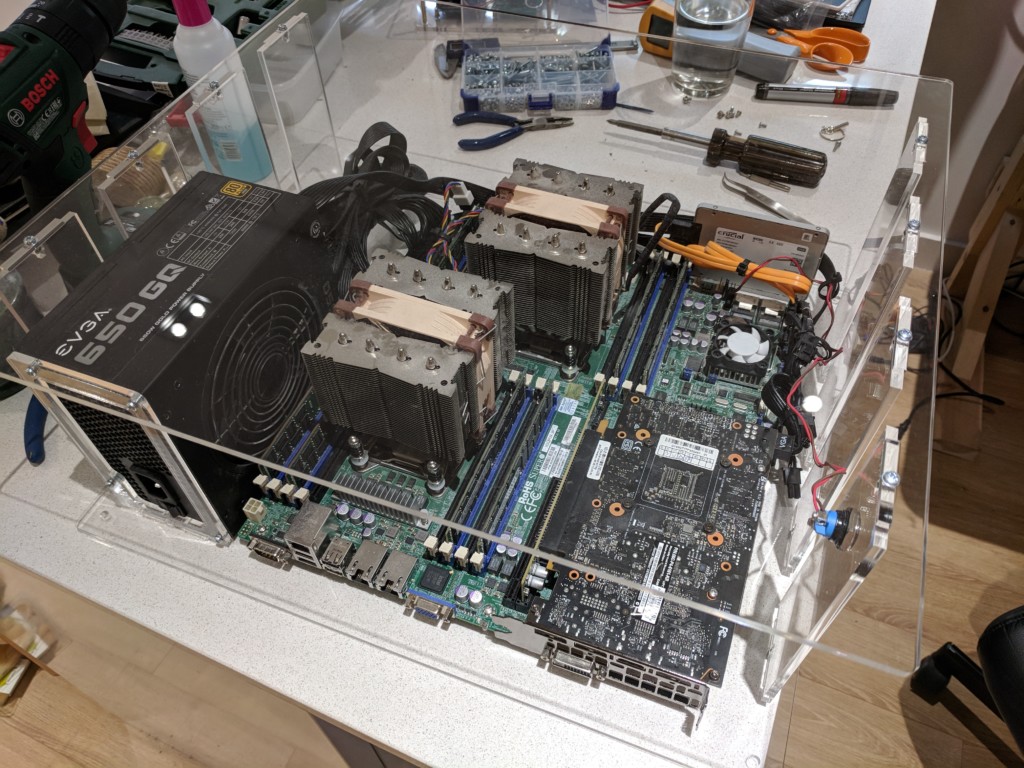
Added – a few heatsinks on chips on the motherboard that are no longer cooled by fans, and two additional 40mm fans – one for CPU VRM FETs on the right, and one for the platform controller hub (PCH) on the left. Also got a GTX 1060, stripped it down, and bolted it to the base (black PCB in the picture). I don’t really need a video card, but being a server motherboard, it only has a VGA output… At least it’s got 3 gigabit ports!
Also took this opportunity to upgrade the memory to 64GB DDR3-1600 ECC Registered (up from 32GB DDR3-1333 ECC Non-registered)… because it was cheap. About $100 if I remembered correctly. There are 8 DDR3 channels – 4 per CPU, so I got 8x8GB sticks.
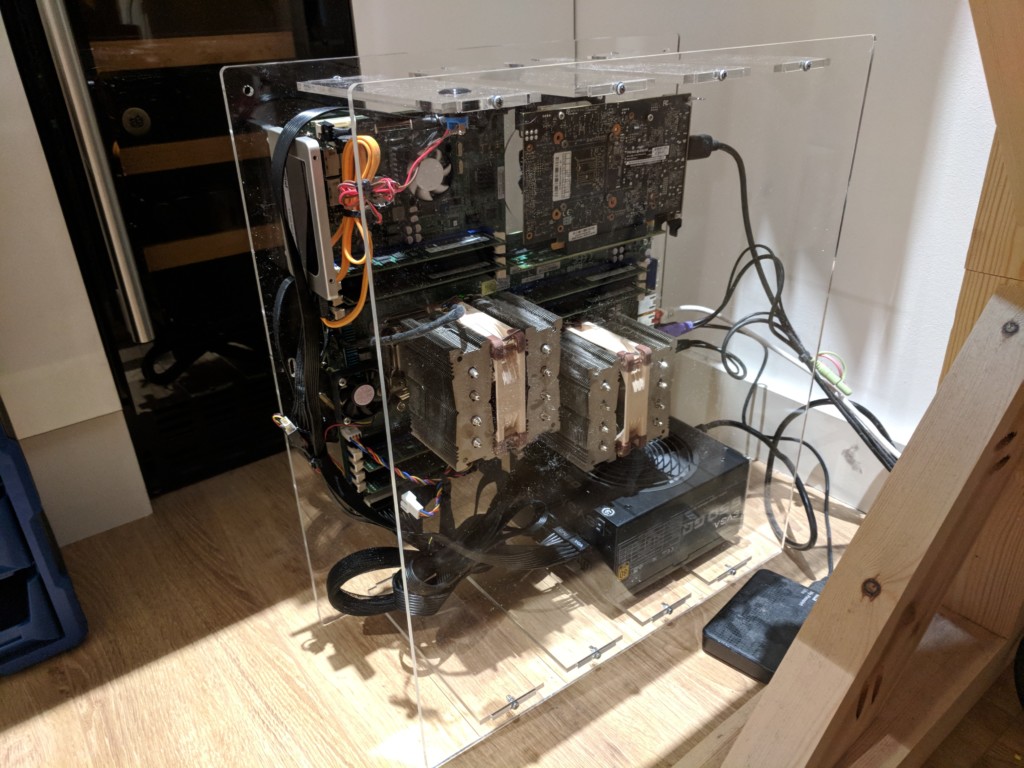
Assembled:
I even added a power button because having to short two wires to start the machine gets old after a while.
Result
The machine has been running happily ever after so far, and quiet enough that I don’t notice it! Still looking for something to use all the cores for (6 months later).
Total cost of the system: ~$300 for the motherboard + CPUs, ~$150 for the GTX 1060, ~$100 for the memory, ~$80 for the power supply, ~$20 for the acrylic panels, and $900 for 15 hours of my time at a heavily discounted rate of $60/hr. Total: $1550 including labour.
Would I do it again? Probably not. This machine was built back when anything more than 4 cores costed more than an arm and a leg, but the release of AMD Ryzen totally changed that. Ryzen came out and kicked Intel’s ass back into making competitive CPUs again! I would get a Ryzen instead because the CPU world needs more competition.
Fusion 360 Files:
Base (for the other panel, I simply deleted all the internal features), horizontal support
