UnnaturalLight - Part 1: Mechanical / Optical Design
Lamps come in all sorts of shapes and sizes. For this first design, I wanted something relatively simple and small, but easily scalable to larger designs later if necessary.
What I settled on is a rectangular desk lamp made out of acrylic panels, with LED chips, mounted on a custom PCB, on the back face. The other faces act as the diffuser to eliminate bright spots which are hard on the eyes. It’s a simple rectangular prism (apparently the scientific name for that shape is “cuboid”. Cool huh?).
Why acrylic panels? Well, when you have a hammer, everything looks like a nail… and I happen to have access to a laser cutter. That means with acrylic I can go crazy with intricate designs, and get them cut out for free (beyond cost of material) and with little effort. Polycarbonate is another popular option for diffusers, but it doesn’t laser cut as well as acrylic. May be an option if you have access to a large CNC machine or waterjet cutter though.
As always, the design was done on Autodesk Fusion 360. Here is a rendering:
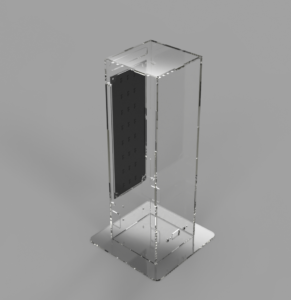
3D rendering
Acrylic is clear in the rendering, but is opal (translucent white) in reality for diffusion.
The black rectangle at the back represents the PCB. Details about the electronics design is coming up in the next post, but it’s an aluminum substrate PCB with LED chips mounted on it in a grid pattern.
Material Selection
Material choice is the biggest challenge here. Acrylic comes in all sorts of light transmission ratios (degree of transparency) and surface finishes (glossy vs frosted). Ideally we want all the light to pass through for energy efficiency, but we ideally also want the point light sources to be nicely diffused so the lamp is comfortable to look at. They are conflicting goals. Usually the better diffuser a material is, the lower the light transmission ratio will be, and vice versa. So it comes down to the minimum diffusion required to get the desired effect.
We could have spent all day doing maths and running simulations, but since acrylic is cheap, I just ordered a bunch that seemed reasonable, and built a diffuser out of each to compare them. Oh, and I also got a cheap light-meter from Amazon.
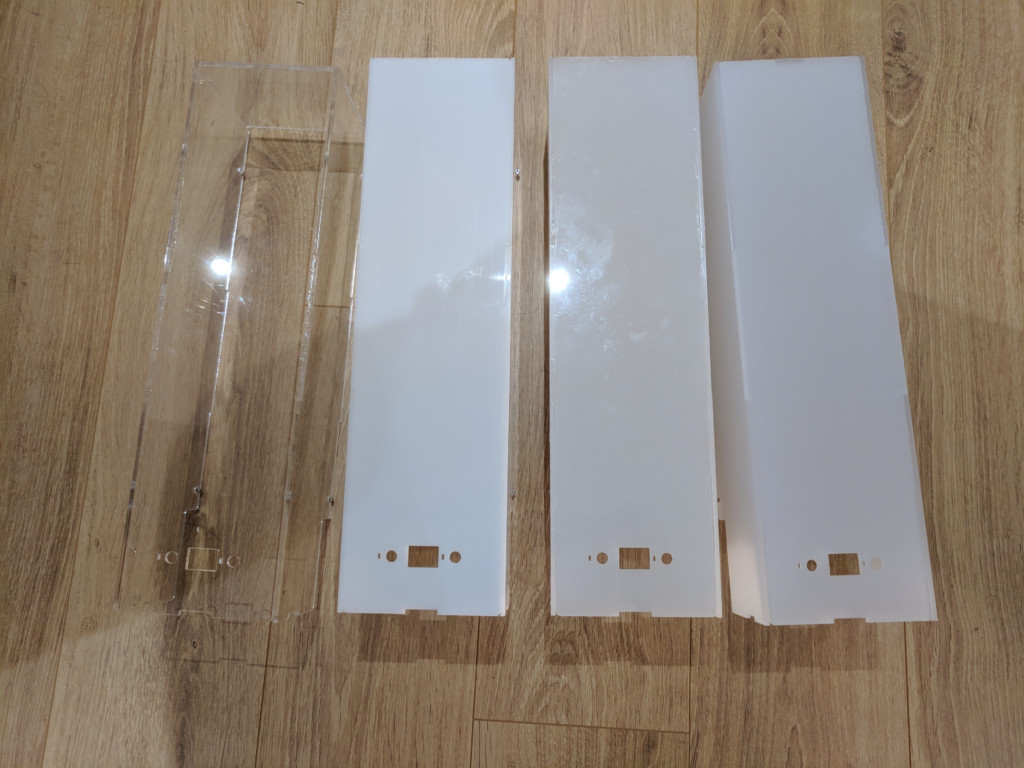
Diffusers with different frosted acrylic types
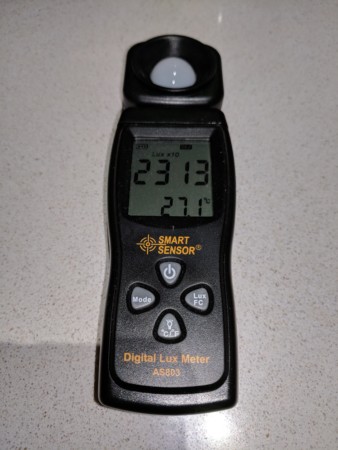
Cheap light meter from Amazon
I also got a piece of clear acrylic and “frosted” it using the laser cutter’s engrave function. It turned out alright but the diffusion isn’t as good as commercial frosted acrylic. It also took a few hours to frost enough acrylic for a lamp. Would not recommend.
In the end, the most important deciding factor is basically how good they look. All the acrylics besides the laser “frosted” one passed the diffusion test and there were no bright spots. I used the light-meter to sweep all over the front panel and recorded the maximum light intensity detected. I also did the same for clear acrylic for reference.
| Material | Peak Illumance (Lux x10) | % Relative to Clear Acrylic |
|---|---|---|
| Clear Acrylic | 4231 | 100% |
| “Laser-frosted” | 3450 | 81% |
| Opal Frost | 2896 | 68% |
| Opal 50 | 2722 | 64% |
| Opal 37 | 2409 | 57% |
We decided to go with Opal Frost in the end.
Joints
The shells are constructed in two parts – the back panel (on which all the PCBs are mounted), and rest of the panels. Rest of the panels are glued together using Araldite Crystal epoxy (similar to JB ClearWeld, but Araldite is more popular in the UK). Why two parts instead of just gluing everything together? Ease of maintenance and repair.
Solvent glues that melt acrylic and fuse parts together are supposed to be stronger for acrylic than epoxy, and I did try it in the beginning – it just never ended up as strong for some reason. Solvent glues also require application to both surface being glued instead of just one, and so they take almost twice as long to apply. Not worth it IMHO.
To join the back panel to the rest of the shell I used embedded bolts and nuts T-joints popular with laser-cut projects.
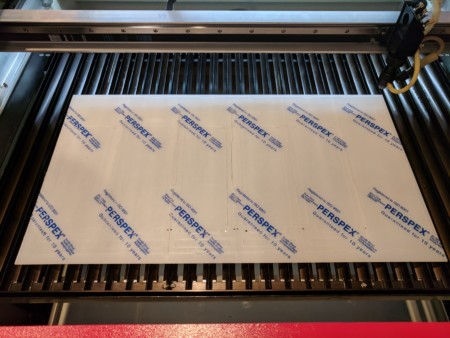
LASER!!
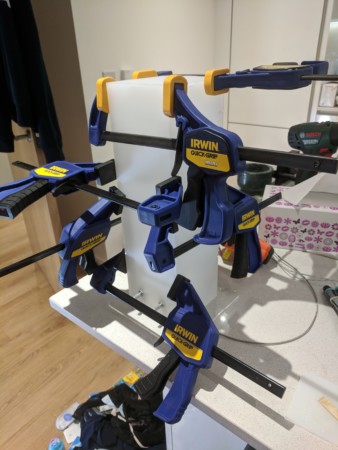
Clamping glory
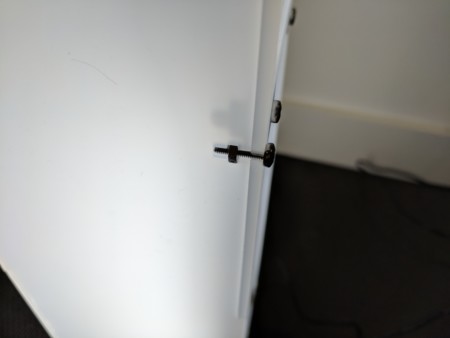
T-slot joint
Next up – electronics!